The Art of Sealing: Mastering Caulking Gun Techniques
Caulking may not be the most glamorous of DIY tasks, but it’s one of the most important. Whether you’re sealing gaps around windows, protecting your bathroom from moisture damage, or preventing drafts in your home, mastering the caulking gun can make all the difference. Getting a smooth, even finish isn’t as difficult as it seems—once you know the right techniques.
Here’s your guide to becoming a caulking pro.
1. Choose the Right Caulk for the Job
Not all caulks are created equal. There are different types designed for specific purposes: silicone, acrylic, latex, polyurethane… and the list goes on. Here’s a quick breakdown:
- Silicone Caulk: Best for bathrooms and kitchens. It’s water-resistant, flexible, and can withstand temperature fluctuations.
- Acrylic Latex Caulk: Great for interior projects. It’s easy to apply and clean up, but less durable than silicone.
- Polyurethane Caulk: This is heavy-duty and perfect for exterior use, where you need maximum durability against the elements.
Check the packaging and make sure you pick the caulk that matches the surface you’re sealing.
2. Prep Your Surface
One of the most common mistakes people make when caulking is not preparing the surface properly. If you want that clean, crisp seal, prep is essential.
- Clean the area: Wipe down the surface to remove dust, dirt, and grease. A clean surface ensures better adhesion.
- Dry the surface: Water or moisture will prevent the caulk from adhering properly. Wait for the area to dry if it’s damp.
- Remove old caulk: If you’re re-caulked, use a utility knife to scrape off the old caulk. Make sure you get as much as possible to ensure a fresh, long-lasting seal.
3. Load the Caulking Gun
Once you’ve got the right caulk, it’s time to load up your caulking gun. Here’s how:
- Cut the tip at an angle: You want a controlled bead, so cut the tip of the caulk tube at a 45-degree angle. The smaller the opening, the finer the bead. Start small—you can always make it larger later if you need more caulk.
- Pierce the inner seal: Most tubes come with a plastic seal inside. Use a nail or the pointed end of the caulking gun to pierce it.
- Insert the tube into the gun: Place the caulk tube in the gun and pull the trigger a few times to get the caulk moving.
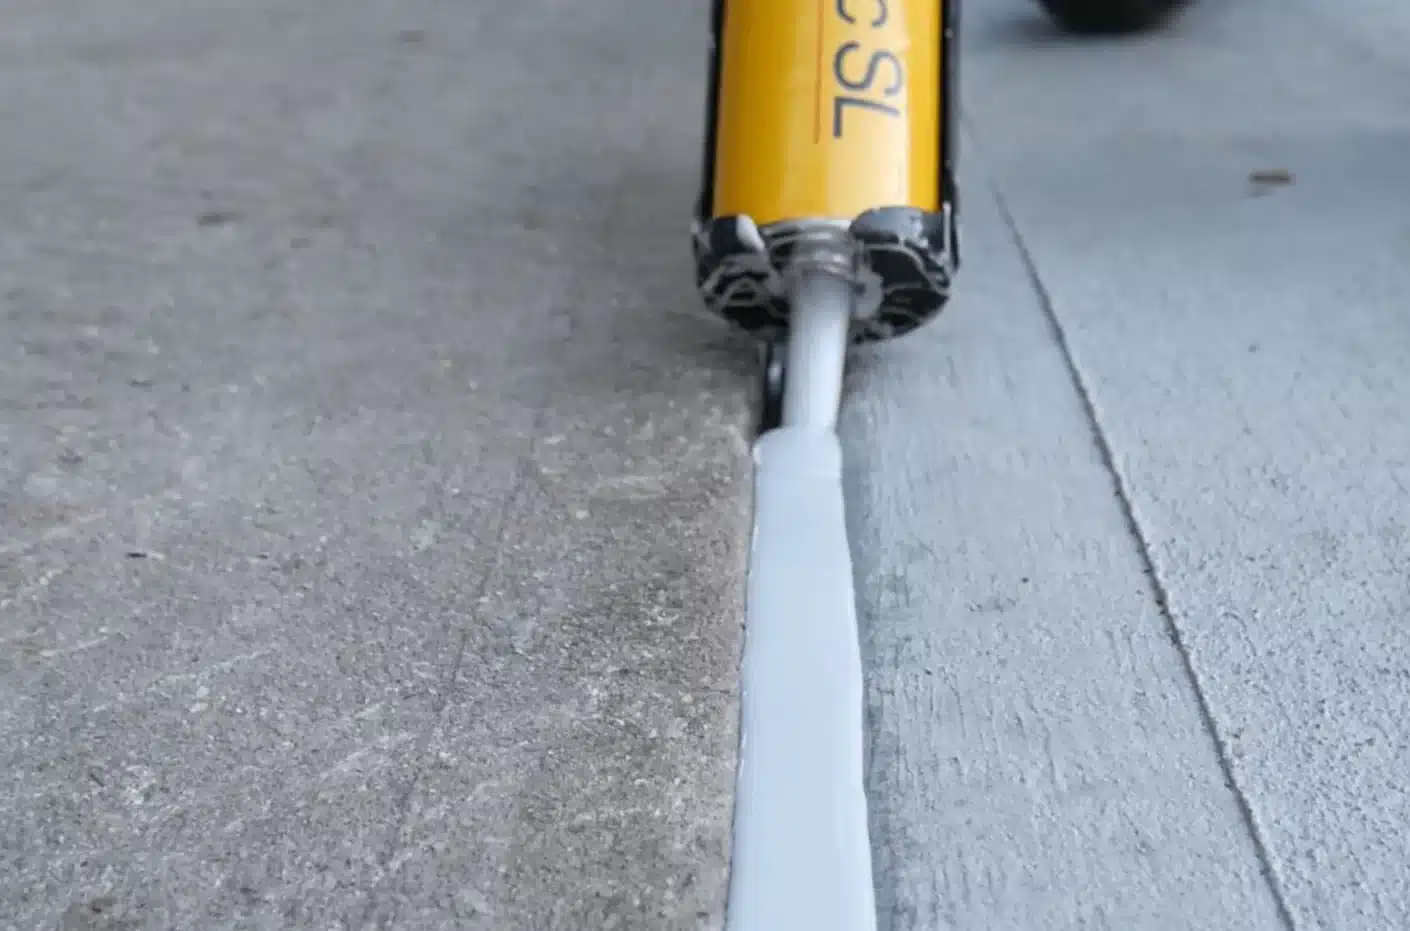
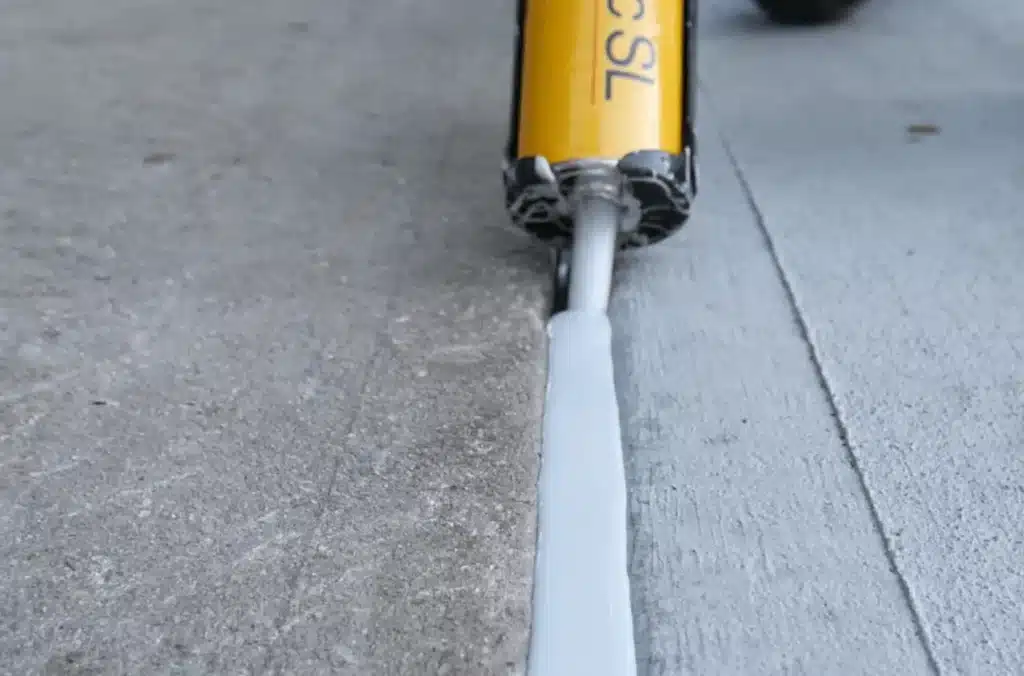
4. The Right Way to Apply Caulk
Now that your gun is loaded, you’re ready to apply the caulk. Here’s the technique to follow:
- Use steady pressure: You want to apply a consistent bead of caulk without rushing. Squeeze the trigger evenly as you move along the gap you’re sealing. If you apply too much pressure, the caulk might squirt out unevenly. If you apply too little, you might end up with gaps.
- Move at a steady pace: Whether you’re caulking along a window frame or between tiles, maintain a steady pace. It’s better to go slow and steady than rush through it and make mistakes. If the bead isn’t perfect, don’t worry—you can smooth it out!
- Smooth the bead: After applying the caulk, use a wet finger or a caulk-smoothing tool to smooth out the bead. This helps push the caulk into the joint, ensuring a strong seal, and gives it a professional finish. You can also use painter’s tape along the edges to create a crisp line, and then remove it before the caulk fully sets.
5. Clean-Up Is Key
After you’re done, clean up right away. Caulk, especially silicone, can be tough to remove once it dries. Keep a rag or paper towels nearby and wipe off any excess caulk from the surface while it’s still wet.
- For silicone caulk, you’ll need mineral spirits or a dedicated silicone remover to clean it off the gun and your hands. Latex caulk comes off easily with soap and water.
6. Don’t Forget to Let It Cure
While it might be tempting to touch or move things right away, give the caulk time to cure. Drying times vary based on the type of caulk, but most caulks take anywhere from 24 to 48 hours to fully cure. This is especially important if you’re sealing areas exposed to moisture or temperature changes.
7. Tips for a Professional Finish
If you’re looking for that polished, showroom-quality result, here are a few extra tips:
- Tape the edges: Applying painter’s tape on both sides of the joint before caulking helps ensure straight, clean lines. Remove the tape while the caulk is still wet for the sharpest edges.
- Use a damp sponge or cloth: After smoothing the caulk, use a damp sponge or cloth to clean up any excess or mess.
- Work in sections: Especially for larger gaps, work in smaller sections, especially if you’re caulking a long perimeter, like around windows. This gives you time to work the caulk before it starts setting.
Final Thoughts
Caulking might seem like one of those “small details” that doesn’t get a lot of attention, but trust me—it makes a huge difference. A neat bead of caulk not only improves the look of a room but also helps with energy efficiency, moisture control, and protecting your home from the elements. Mastering your caulking gun technique doesn’t take long, and once you’ve done it a few times, you’ll wonder how you ever lived without it.
However, if you’d rather skip the hassle and ensure the job is done right the first time, why not leave it to the pros? Sealant Worx Limited offers expert caulking and sealing services, making your life easier and your home more secure. Let them handle the details while you sit back and enjoy the results—no stress, no mess, just perfection.


